Introduction: At Burton Joyce Roofing Repairs, we understand the importance of a securely installed roof to ensure durability and safety. Properly anchoring roof tiles is crucial to prevent slipping and ensure the long-term performance of your roof. This blog post will cover essential tips and techniques for correctly anchoring roof tiles during installation.
Why Proper Anchoring Is Essential
Proper anchoring of roof tiles is vital for several reasons:
- Preventing Slippage: Roof tiles that aren’t securely anchored can shift or slide, leading to gaps that may cause leaks or further damage.
- Enhancing Roof Stability: Securely anchored tiles stabilise the entire roofing system, reducing the risk of tiles being displaced by strong winds or adverse weather conditions.
- Ensuring Longevity: Proper installation and anchoring help extend the lifespan of your roof by preventing premature wear and tear.
Steps for Properly Anchoring Roof Tiles
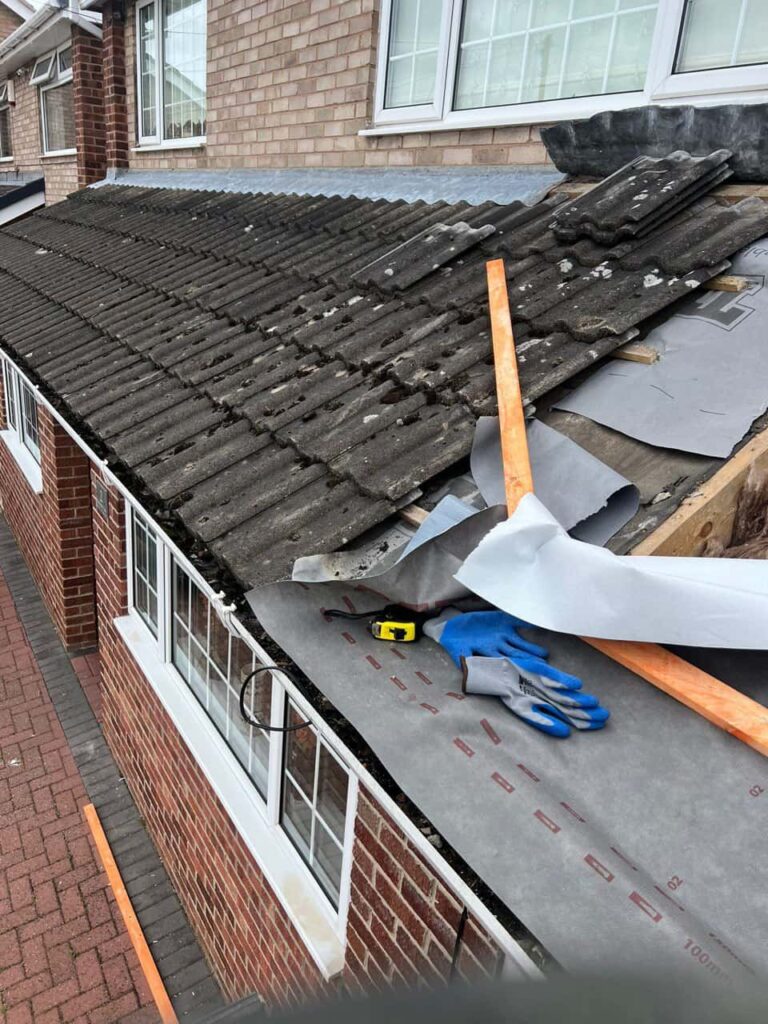
- Prepare the Roof Deck
- Inspect the Deck: Before installing new tiles, ensure the roof deck is in good condition. Any damaged or rotted sections should be repaired or replaced to provide a stable base for the tiles.
- Install Underlayment: Apply a high-quality underlayment over the roof deck. This layer acts as a waterproof barrier and helps provide additional support for the tiles.
- Choose the Right Fasteners
- Type of Fasteners: Use fasteners suitable for your type of roof tiles and the material of your roof deck. Common fasteners include nails, screws, or clips. Ensure they are corrosion-resistant, especially for roofs exposed to harsh weather conditions.
- Length and Gauge: Select fasteners of the correct length and gauge to ensure they penetrate the roof deck adequately without damaging the tiles.
- Install Tiles with Proper Overlap
- Tile Layout: Start from the bottom edge of the roof and work your way up. Ensure that each row of tiles overlaps the row below it according to the manufacturer’s specifications. This overlap helps prevent water infiltration and provides additional support to the tiles.
- Check Alignment: Properly align the tiles to maintain a uniform appearance and ensure effective anchoring.
- Secure the Tiles
- Fixing the Tiles: Secure each tile to the roof deck using the chosen fasteners. Follow the manufacturer’s guidelines for the correct placement and spacing of fasteners. Two fasteners per tile are recommended, but this can vary depending on the type and manufacturer.
- Avoid over-tightening: When securing tiles, avoid over-tightening the fasteners, as this can damage the tiles or affect their ability to shed water properly.
- Use Tile Clips or Clips for Additional Security
- Tile Clips: Consider using tile clips or fixing systems to hold tiles in place for added security. These clips can help prevent movement and provide additional stability, particularly in areas prone to high winds.
- Compatibility: Ensure that your clips or fixing systems are compatible with your tile type and installation requirements.
- Inspect the Installation
- Check for Slippage: After installation, inspect the roof to ensure that all tiles are securely anchored and there are no signs of slippage or movement. Pay close attention to the edges and corners of the roof.
- Perform a Test: Press on a few tiles to ensure they are firmly in place. Make any necessary adjustments or re-secure tiles as needed.
- Address Any Issues Promptly
- Monitor for Movement: After installation, monitor your roof for any signs of tile movement or slippage. Address any issues promptly to prevent further damage and maintain the integrity of your roof.
- Regular Maintenance: Schedule regular roof inspections and maintenance to check for any potential problems and ensure that tiles remain securely anchored.
Conclusion: Properly anchoring roof tiles is essential for a stable, secure, long-lasting roofing system. By following these steps and ensuring that each tile is correctly installed and secured, you can prevent slipping and enhance the overall performance of your roof.
Call us on: 0115 647 1193
Click here to find out more about Burton Joyce Roofing Repairs
Click here to complete our contact form and see how we can help you with your roofing needs.